
Base Building
Plan a RuneScape: Dragonwilds base that survives raids. Compare safe locations near Lodestones, storage layouts, Construction unlocks and defence tips.
Introduction
Base building in RuneScape: Dragonwilds is survival construction with a RuneScape twist: the pieces you can place are gated behind the Construction skill, so your floor plan and your training route grow together. Because dragons roam Ashenfall from the first hour and hostile creatures will attack a base directly, location matters far more than size. Community guides consistently recommend claiming ground near a Lodestone and fresh water, then checking the surrounding patrol routes before laying the first foundation. A compact, walled compound a few minutes from fast travel beats a sprawling showpiece almost every time. Storage is the other half of the job: linkable chests, Lumber Storage and the Personal Chest keep materials reachable from one screen, while split crafting rooms stop a single breach from erasing every bench you own.
Base Layout Elements at a Glance
| Build Element | Placement | Defence Value | Common Mistake |
|---|---|---|---|
| Lodestone-Near Plot | Flat ground, a short walk from fast travel | S | Building directly under a dragon patrol line |
| Fresh Water & Farm Corner | Beside a stream, inside the defended wall | A | Relying on a rain catcher alone for crops |
| Central Storage Core | Middle of the compound, behind two walls | S | Chests lined up along the outer wall |
| Split Crafting Rooms | One bench per small room, interior facing | A | Putting every bench in one open hall |
| Perimeter Wall & Repair Loop | Full ring, gated on your safe side | B | Leaving damaged walls unpatched after a raid |
Builds & Base Modules
Lodestone Starter Hut
The smallest viable base: one enclosed room with a bed, a chest and a single bench, planted near a Lodestone.
Centralised Storage Core
A small interior vault room holding linkable chests, Lumber Storage and the Personal Chest in one place.
Split Crafting Wing
Crafting stations broken into their own small rooms instead of one long open production hall.
Perimeter Wall Ring
A full ring of walls with a gate, built tall enough to slow dragons and raiders rather than stop them.
Riverside Farm Yard
Farming plots, a rain catcher and a compost bin tucked inside the wall next to fresh water.
Raid-Proof Bunker
A late-game build that trades convenience for survivability, using Construction unlocks and layered interior rooms.
Core Mechanics
Construction drives everything you can place. Level it and the build menu opens up small and medium pieces, Sacred Geometry triangles for angled and rounded shapes, furniture and finally the Personal Chest. Structural support works like most survival builders: pieces need a grounded connection and load-bearing walls, so upper floors and wide roofs fail when you skip supports. Storage is a separate system worth planning early, because linkable chests, Lumber Storage and the Personal Chest let you reach materials from one screen instead of jogging between rooms. Beds set your respawn point, rain catchers and farming plots turn a base into a food source, and repair is an ongoing chore rather than a one-time fix. Older guides still mention Wardstone and Wardshield for Constitution, but both were removed in the 0.12 update, so treat that advice as out of date.
Advantages
Location is the single biggest advantage you can buy yourself, and it costs nothing. A base within sight of a Lodestone turns every death into a short walk, and one beside fresh water keeps farming and cooking running without detours. Compact compounds are also much easier to defend than sprawling ones, because enemies path to the nearest opening and you can meet them at a gate instead of chasing them across a courtyard. Splitting crafting into separate rooms means a bad night costs you a bench and a wall rather than a full rebuild. Centralised storage through linkable chests and Lumber Storage removes most of the inventory shuffling that slows a co-op session down, and the Personal Chest keeps a portable stash with you while you travel. Construction unlocks also give a concrete progression target, because every level visibly changes what your base can become.
Challenges
The honest downside is that nothing here is permanent and nothing is cheap. Dragons and hostile creatures attack bases, so walls are consumables: they take damage, they need patching, and construction materials compete directly with the gear and crafting you also need. Building near a Lodestone or a stream puts you on ground that patrol routes and other players favour too, so the most inviting plots can still sit on a dragon's flight line. Large showpiece builds are the worst offenders, because open layouts hand attackers free paths and wide roofs demand support pieces you may not have unlocked yet. Running more than one base is possible, but each site is another set of walls to maintain on a shared material budget. The 0.12 update removed Wardstone and Wardshield, so any build guide that leans on those for structure or Constitution protection is no longer reliable.
Frequently Asked Questions
Where should I build my first base in RuneScape: Dragonwilds?+
How do I stop enemies from attacking the inside of my base?+
How many bases can I have, and can I move one?+
What is the best storage setup for a base?+
Quick Tips
Scout before you commit. Walk a full circle around your intended plot at night as well as by day, and note what wanders past. Ground that looks empty in the morning can sit directly under a dragon's flight line after dark. Community guides call this the most common first-base mistake, and avoiding it costs nothing but time: pick the plot, watch it for a few in-game days, then place your foundations with confidence.
Build small and enclosed, then grow outward. A single sealed room with a bed, a chest and one bench already covers respawn, storage and basic crafting, and it is cheap to replace if you picked a bad spot. Adding rooms later is easy, while tearing down a half-finished hall because it sits in the open is demoralising. Give yourself one gate facing your Lodestone or water so you always leave on the safe side.
Split your benches. Keep the smithing forge, cooking range and crafting table in separate small rooms rather than one long hall. When a raid or a dragon breaks through, damage stops at one wall and one bench instead of your whole production line. It also makes repairs faster, because you can patch a single room while teammates keep crafting in the others. The cost is a few extra wall pieces, which is cheap insurance for a base that gets attacked.
Treat storage as infrastructure, not furniture. Linkable chests, Lumber Storage and the Personal Chest exist so you stop jogging between rooms, and the Personal Chest unlock comes from Construction, so train that skill early. Put the whole storage core in the middle of the compound behind two walls and sort it by material family. A raided storage room costs far more than any wall you will ever rebuild around it.
Schedule a repair pass after every attack. Walls, doors and structures all take damage, and one unpatched section is how most bases fall. Walk the perimeter after each fight, patch what is broken, and keep Magical Mending and spare materials on hand so you are never caught mid-repair. Older advice about Wardstone and Wardshield is obsolete after the 0.12 update, so lean on repair discipline and better building pieces instead.
Featured

RuneScape: Dragonwilds Base Building: Layouts, Locations & Tips
Design a raid-proof RuneScape: Dragonwilds base building project with the best biome spots, smart layouts, and beginner-friendly design tips to lock down your loot.
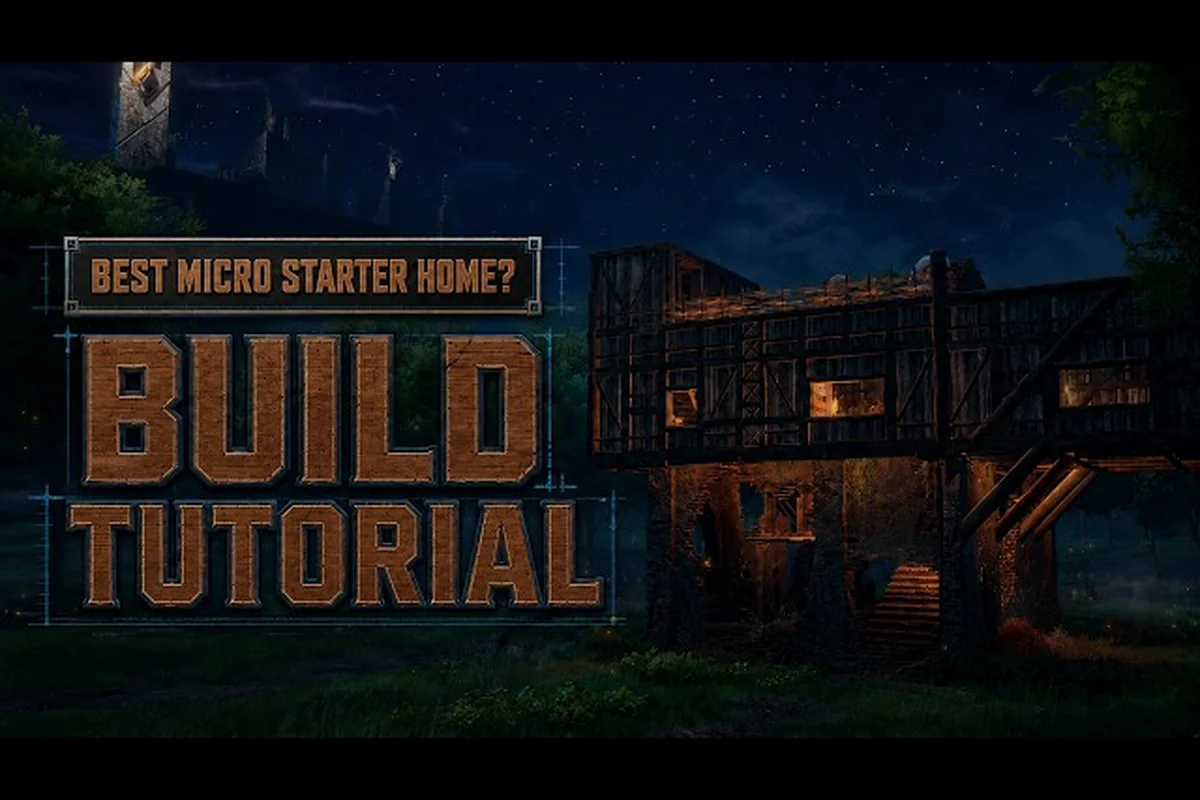
RuneScape: Dragonwilds Building Pieces: Stability & Tips
Master RuneScape: Dragonwilds building pieces with stability rules, curved base tricks, storage systems, and tips to expand or relocate your camp safely.
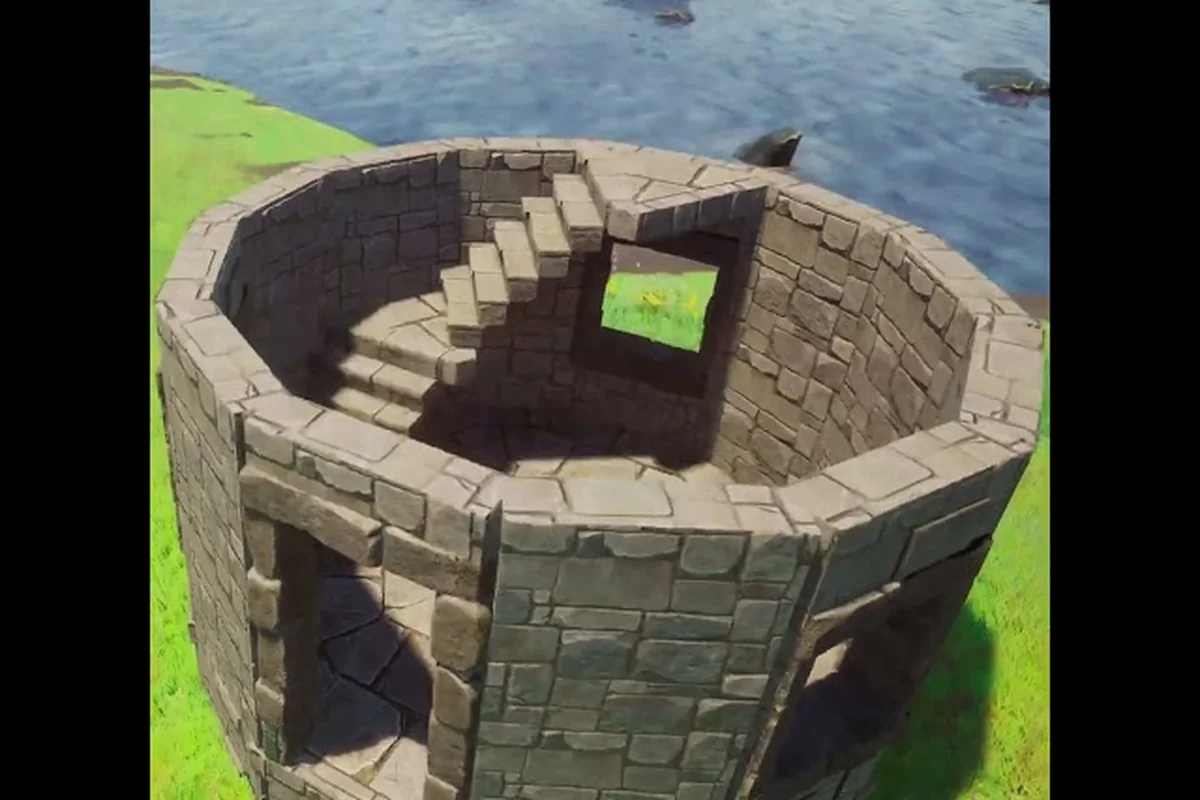
RuneScape: Dragonwilds Compost Bin: Crafting & Farming Setup
Craft the RuneScape: Dragonwilds compost bin step by step, pair it with farming plots, and turn your base into a self-sustaining resource hotspot.
All Articles
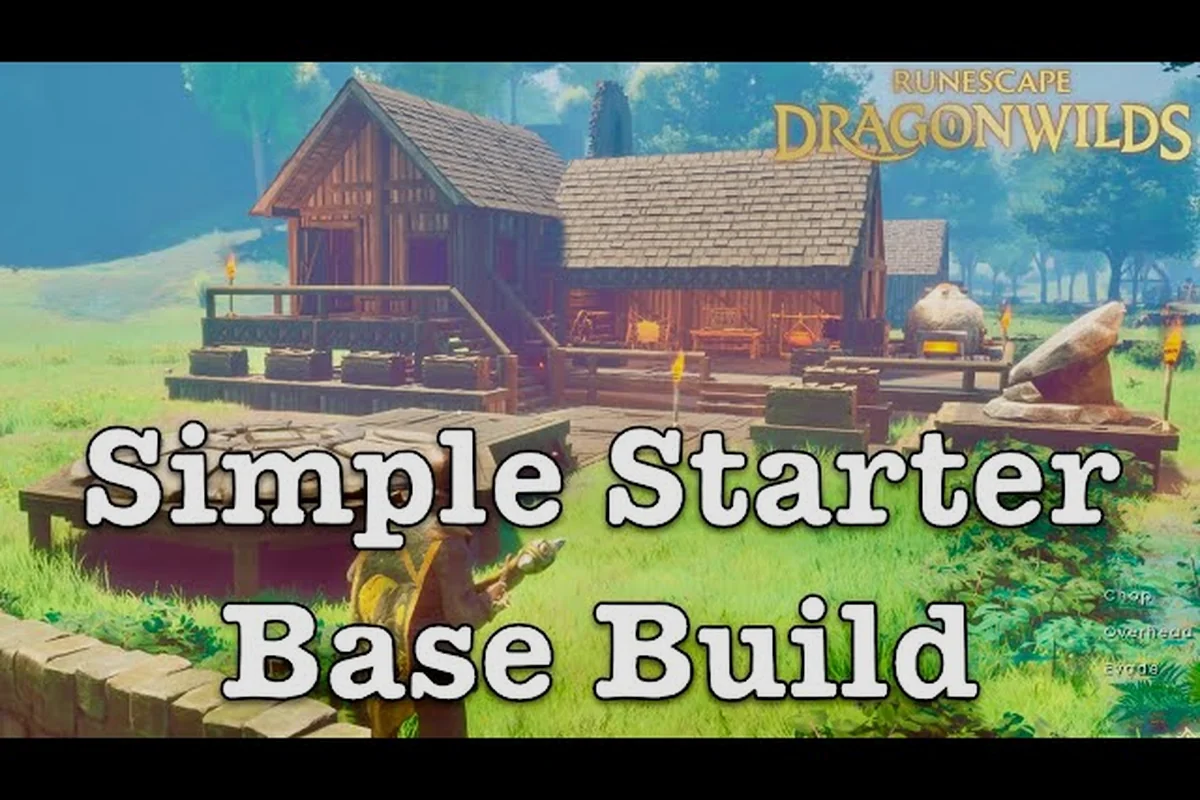
RuneScape: Dragonwilds Starter Base: House Designs & Defense Tips
Build a compact RuneScape: Dragonwilds starter base that fits your first week — simple house designs, core defenses, and raid-proof upgrades you can craft fast.
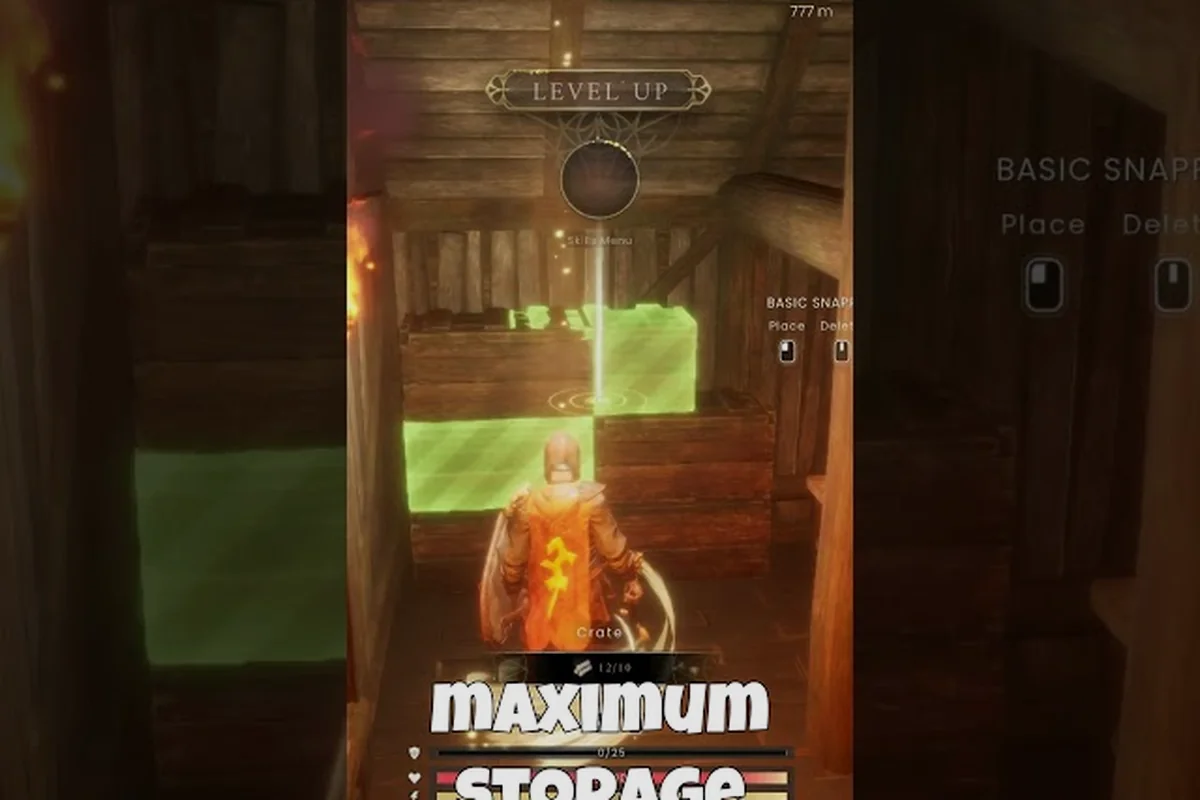
RuneScape: Dragonwilds Storage Room: Recipes & Repair
Plan a RuneScape: Dragonwilds storage room that survives raids, with chest recipes, furniture layouts, and quick repair tricks after every fight.
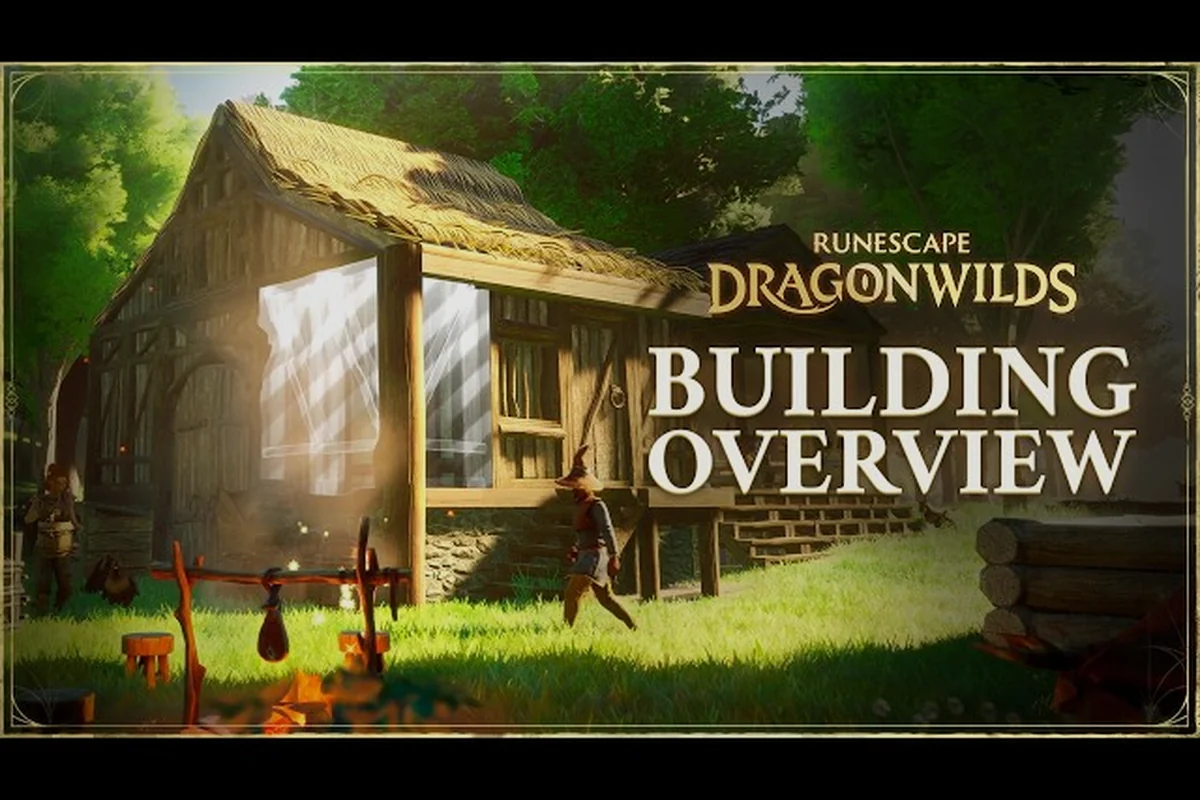
RuneScape: Dragonwilds Enemies Spawning in Base: How to Stop It
Stop RuneScape: Dragonwilds enemies spawning in base with proven wall, floor, and lighting fixes plus the safest base upgrades to keep raids at bay.

RuneScape: Dragonwilds Storage Chest: Linked & Lumber Types
Organize your loot with the right RuneScape: Dragonwilds storage chest — compare linked vaults, the Personal Chest spell, and dedicated lumber and stone boxes.