Maps
Region maps for RuneScape: Dragonwilds covering Ashenfall, Fellhollow, Dowdun Reach, Umbral Sands and the Scorned Wilderness, plus Lodestone fast travel routes.
Introduction
Maps in RuneScape: Dragonwilds matter less as a single world atlas and more as a travel network. The starting continent of Ashenfall splits into four interlocking sub-areas - Bramblemead Valley, Stormtouched Highlands, Fractured Plains and Emberwood - and each one feeds a different material tier into your crafting chain. Push far enough through the Highlands and you reach Fellhollow, the mid-game region that holds the Imaru vault. The March update opened Dowdun Reach, raised every skill cap and put Zamorak's vault behind it, while Umbral Sands added a desert biome with dynamic weather, Kalphites, Kot'Haar and the Dunes of Uzzer. The 1.0 release caps the map with the Scorned Wilderness raid zone, where Kuldra closes out the story. Lodestones tie the whole thing together: attune one and you can fast travel between bases and regions instead of running the same road twice.
Region Quick Reference
| Region | Where It Sits | Vault and Boss | Watch Out For |
|---|---|---|---|
| Ashenfall | Starting continent with Bramblemead Valley, Stormtouched Highlands, Fractured Plains and Emberwood | Velgar vault, per community guides | Roaming dragons from the first hour |
| Fellhollow | Mid-game region reached by pushing through the Highlands | Imaru vault, per community guides | A sharp difficulty step up from Ashenfall |
| Dowdun Reach | March update region that raised every skill cap | Zamorak vault, per community guides | Long gaps between Lodestones |
| Umbral Sands | Desert region with dynamic weather and the Dunes of Uzzer | Fuzan, fought after the Fight Cave | Kalphites, Kot'Haar and shifting weather |
| Scorned Wilderness | Endgame raid zone added with the 1.0 launch | Kuldra at the end of Kuldra's Saga | Group content that punishes solo runs |
Region Cards
Ashenfall
The starting continent, split into four level-banded sub-areas.
Fellhollow
Mid-game region reached by pushing through Stormtouched Highlands.
Dowdun Reach
March update region that raised every skill cap and opened Zamorak's vault.
Umbral Sands
Desert region with dynamic weather, Kalphites and the Dunes of Uzzer.
Scorned Wilderness
Endgame raid zone introduced with 1.0 and the Kuldra's Saga finale.
Lodestones
Fast travel network that links bases and regions once attuned.
Core Mechanics
Travel in Dragonwilds runs through Lodestones. Every region holds attunement points, and touching one adds it to a fast travel network that links bases and regions; until a node is attuned, the only way back is on foot. That single rule shapes how you explore. Early runs are one-way pushes into new ground, and later farming loops are built around whichever stone you have already touched. Map knowledge also covers resource distribution, because mining veins, fishing spots and chest respawns cluster by region rather than spreading evenly. Search interest around hidden content clusters on buried chests, kebbit burrows, restless ghosts, dungeon routes and the library puzzle, which tells you where players lose time. Read the in-game map icons while travelling, since they flag points of interest long before any guide documents them properly.
Advantages
A region-by-region view saves hours of wasted hauling. Knowing which biome supplies which material tier means you stop dragging copper across two zones and start farming the node next to your base. Lodestones convert that knowledge into time saved: attune the stones along your usual route and a death inside a vault costs a short walk instead of a full trek back through hostile ground. Progression order matters too. Ashenfall's four sub-areas feed the early crafting chain, Fellhollow sits behind the Highlands as the mid-game step, Dowdun Reach arrived with raised skill caps, and Umbral Sands behaves differently from every zone before it. Planning around those bands keeps your gear roughly level with the enemies you actually meet on the road.
Challenges
The honest limit is that Dragonwilds does not hand you a finished world atlas. Zone level bands, exact vault entrance locations and total map size have never been published in one official reference, so most numbers in circulation are player-measured. The vault and boss pairings used above - Ashenfall with Velgar, Fellhollow with Imaru, Dowdun Reach with Zamorak, Umbral Sands with Fuzan, the Scorned Wilderness with Kuldra - trace back to community walkthroughs cross-checked against announcements, and a patch can move an entrance without anyone updating a single guide. Distance also misleads on paper, since a short line on the map can cross a dragon patrol route or a desert weather front. Verify before committing a long run.
Frequently Asked Questions
How many regions are there in RuneScape: Dragonwilds?+
How do I unlock fast travel with Lodestones?+
Where is the Imaru vault?+
What level should I be before entering Dowdun Reach or Umbral Sands?+
Quick Tips
Attune every Lodestone you walk past, even when it is out of the way. A node you skipped costs far more time later than the two minutes it takes to touch it now, and attuned stones are what make vault attempts, raids and resource farming practical. Community guides keep recommending the same habit because it also solves the respawn problem: dying deep in a region becomes a short walk rather than a cross-map march through mob-dense ground with an empty inventory and no food.
Pick a base site near a Lodestone and fresh water, but off the dragon patrol lines. The two goals pull in opposite directions, so scout on foot for a few minutes before you place anything permanent. Open layouts and undefended storage rooms are the most common reason players lose a full stockpile, and a wall does not stop a dragon that has already decided your crafting benches look interesting.
Farm by region instead of by recipe. Each zone concentrates a narrow band of material tiers, so a session spent in one area with a clear shopping list beats zigzagging across the map chasing individual nodes. Write the list before you travel, empty your inventory into linked chests, and leave with only the tools, food and repair materials you actually need for that run.
Treat vault routes as community information rather than gospel. The region and boss pairings circulating online come from player walkthroughs, not an official map, so confirm the entrance in game before a long trip and check whether a patch moved it. If a route stops working, assume the world changed before assuming you misread the guide.
Read the in-game map icons and the weather rather than memorising a static picture. Icons flag points of interest, buried chests and dungeon mouths before any written guide gets updated, and Umbral Sands in particular shifts how it plays when the weather turns. A five-second glance at the map while travelling regularly saves an hour of searching later.
Featured

RuneScape: Dragonwilds How to Unlock Lodestone & Fast Travel
Learn RuneScape: Dragonwilds how to unlock lodestone, plus mining, fishing, and buried chest respawn spots across the full Ashenfall resource map for 1.0.
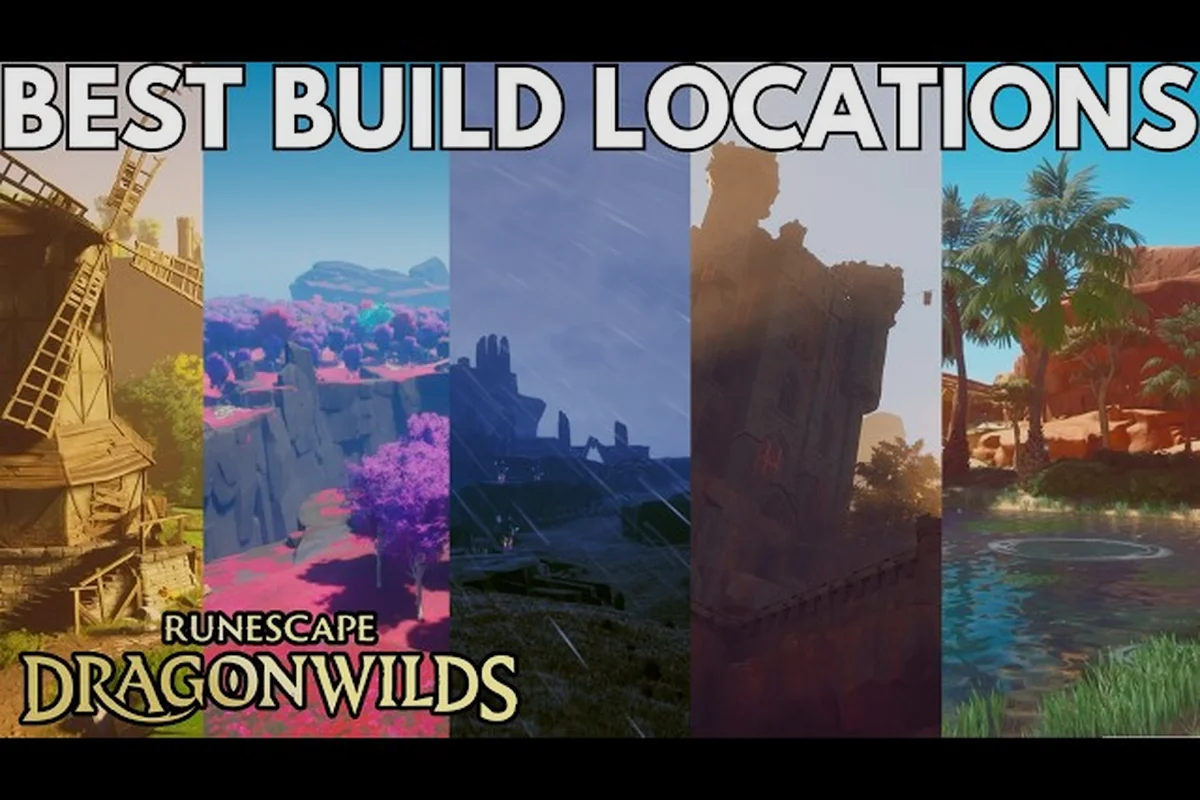
RuneScape: Dragonwilds Map: Ashenfall Regions & Landmarks
Explore the complete RuneScape: Dragonwilds map of Ashenfall, covering every region, key landmarks, and the best base-building spots across the open continent.

RuneScape: Dragonwilds Fellhollow Map: Dowdun & Umbral Sands
Navigate the RuneScape: Dragonwilds Fellhollow map alongside Dowdun Reach, Umbral Sands, and Scorned Wilderness with key landmarks pinned across all four regions.
All Articles
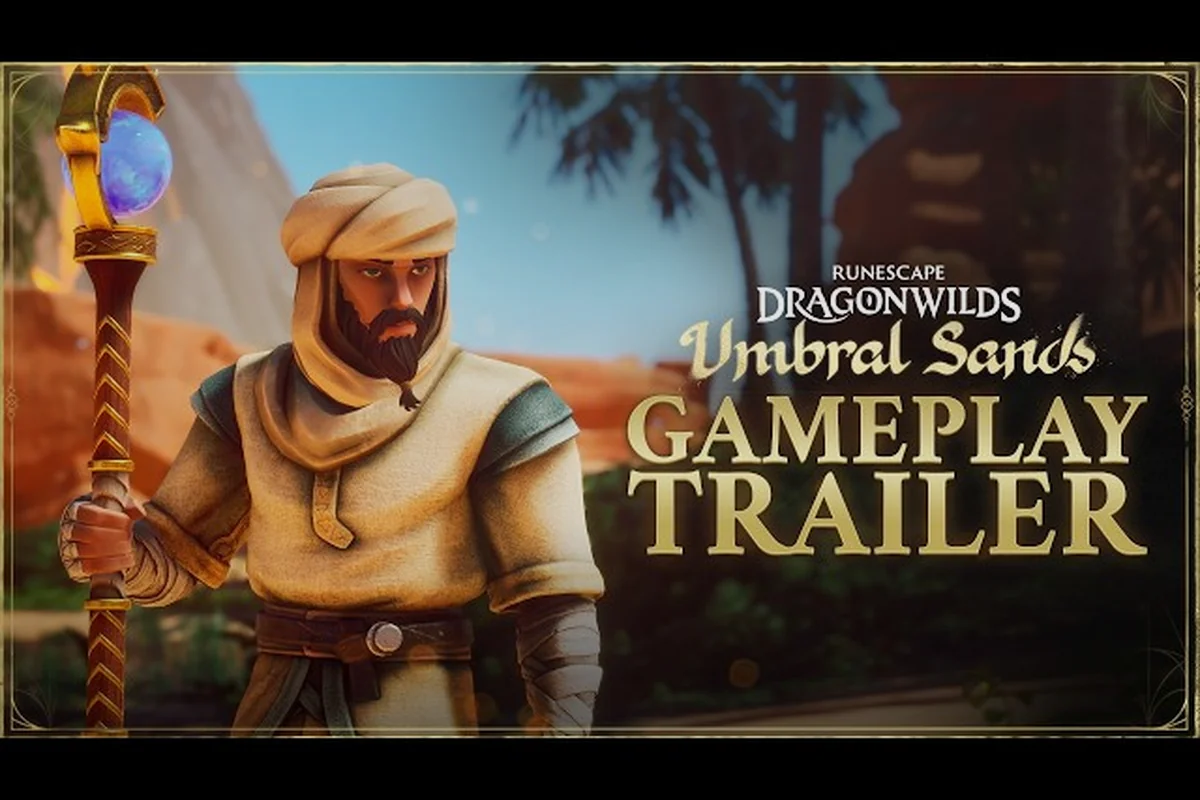
RuneScape: Dragonwilds Dunes of Uzzer: Map & Lodestone Routes
Master the RuneScape: Dragonwilds Dunes of Uzzer with a full map legend, Manafem Plains highlights, and every lodestone route for fast travel across Ashenfall.
RuneScape: Dragonwilds Kebbit Burrow Locations & Hidden Spots
Pin down every RuneScape: Dragonwilds kebbit burrow location, uncover hidden dungeon entrances, restless ghost rooms, and library puzzle spots across Ashenfall.

RuneScape: Dragonwilds Zone Levels: Area Progression & Route
Plan your journey with RuneScape: Dragonwilds zone levels, recommended area progression, and a route map that breaks down Ashenfall from starter biomes to endgame.
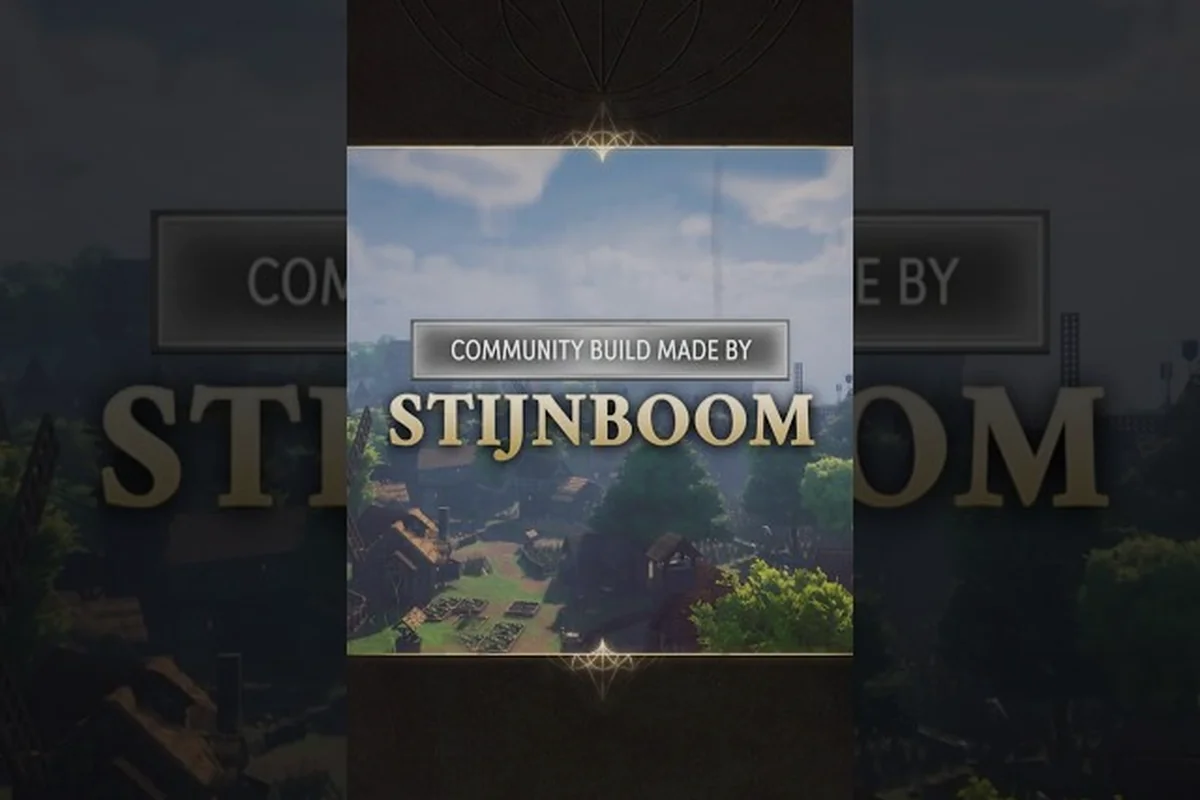
RuneScape: Dragonwilds South Bramblemead: Region & Landmarks
Tour RuneScape: Dragonwilds South Bramblemead from Stormtouched Highlands borders to Emberwood, Hope's Fall, and the Lake of Lost Souls with key landmarks mapped.