
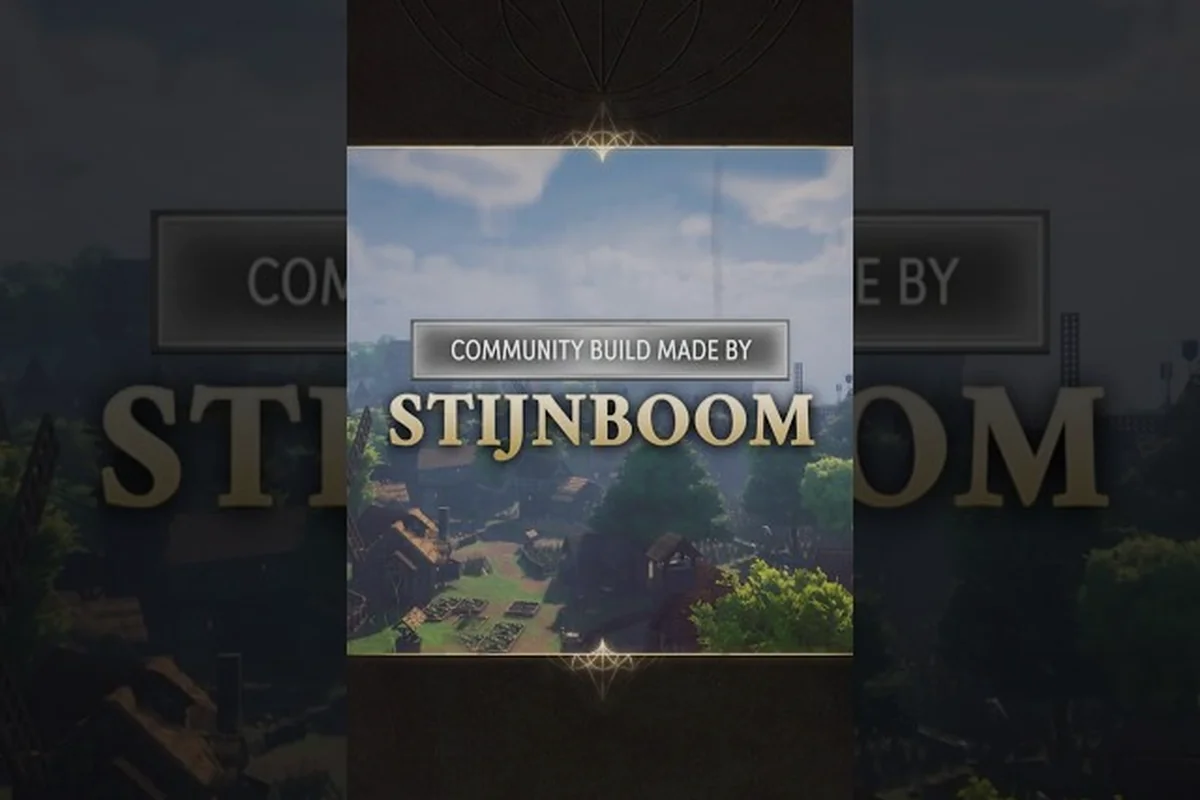
RuneScape: Dragonwilds South Bramblemead is the warm, foggy southern gateway of Ashenfall where most new Adventurers plant their first banner, and it borders four neighboring regions that shape every early-to-mid game decision you make. Knowing exactly where Stormtouched Highlands, Fractured Plains, Emberwood, and the Lake of Lost Souls sit on the map — and how the roads, lodestones, and river crossings connect them — turns a 200-hour survival grind into a controlled route-planning exercise. This guide maps every named landmark, the vault access it feeds into, and the threats lurking between them, so you can plan runs, dodge ambushes, and stage your next base without wasting a single stamina bar.
South Bramblemead Region Overview
South Bramblemead covers the southern third of Bramblemead Valley and acts as the connective tissue between four major biomes. According to community mapping work on the Bramblemead City project, the region is roughly 14% of Ashenfall's explorable surface and sits at an average elevation of 80 meters, making it one of the flatter, river-heavy zones in the game. It is the recommended spawn-in region for any new character on Normal difficulty, and the only place where a Lodestone can be activated within the first 30 minutes of play.
The region blends the temperate grasslands of central Ashenfall with the first hints of volcanic terrain creeping in from Emberwood in the southeast. To the north the elevation climbs into the Stormtouched Highlands, to the west it opens up onto the cracked red clay of the Fractured Plains, and the central lake system drains into the Lake of Lost Souls before spilling over the cliffs toward Hope's Fall in the far south.
Core Landmarks in South Bramblemead
| Landmark | Location | Function | Threat Level |
|---|---|---|---|
| Bramblemead Heartstone | Center of the valley | Primary Lodestone, fast-travel hub | Low |
| Thornwall Ruins | North edge | Lore cache, small Garou den | Medium |
| Old Fisher's Hut | Southwest shore | Vendor, fishing recipes | Low |
| Saltbarrow Bridge | Southeast crossing | Road to Emberwood | Medium |
| Watchman's Cairn | Western bluff | Overlooks Fractured Plains | Medium |
| Whispering Reeds | South marsh | Herb spawn, ambush hotspot | High |
| Pilgrim's Rest | Southwest approach | Campfire, waypoint to Hope's Fall | Low |
These landmarks are spaced roughly 300–500 meters apart, which is a comfortable sprint between safe points even on foot. Several experienced players who recorded their first 50 hours in the region — including the Bramblemead City build — note that the river system forms a natural maze, and crossing without a Lodestone unlock often costs 5–10 minutes of backtracking per death.
Bordering Regions at a Glance
| Direction | Bordering Region | Travel Time on Foot | Recommended Gear Tier |
|---|---|---|---|
| North | Stormtouched Highlands | 6–8 minutes | Steel |
| West | Fractured Plains | 4–5 minutes | Iron |
| Southeast | Emberwood | 8–10 minutes | Steel + fire resist |
| South | Hope's Fall / Lake of Lost Souls | 10–14 minutes | Mithril |
A Lodestone network means that once you have three or four activated, the effective travel time between any two border regions drops to under a minute. That changes the value of every side trip you make during a single play session.
Stormtouched Highlands Border
The Stormtouched Highlands border runs along the entire northern edge of South Bramblemead, marked by a sharp elevation jump of roughly 120 meters and a permanent lightning arc visible from the valley floor during night cycles. Players who want to stage vault preparation for the Zamorak encounter in Dowdun Reach usually climb through this border, because the southern foot of the Highlands feeds directly into South Bramblemead's river network.
Access Routes and Trail Markers
| Route | Starting Landmark | Trail Type | Notes |
|---|---|---|---|
| Cairn Ascent | Watchman's Cairn | Switchback footpath | Steepest but safest |
| Thornwall Notch | Thornwall Ruins | Cave shortcut | Risk of Garou ambush |
| River Fork Trail | Bramblemead Heartstone | Riverside walk | Longest but lowest risk |
| Skyline Ridge | Pilgrim's Rest (via north road) | Mountain shelf | Best views, weather exposure |
The Trail Marker system (small carved stones with map icons) is densest along Cairn Ascent and River Fork Trail. If you are following the official RuneScape: Dragonwilds beginner guide, the River Fork Trail is the recommended first climb because it stays below the cloud line and avoids the worst of the lightning strikes.
Resources and Enemies Along the Border
| Type | Common Finds | Recommended Level Cap |
|---|---|---|
| Mining nodes | Iron, Coal, occasional Mithril | 25+ |
| Herb spawns | Stormbloom, Razorgrass | 20+ |
| Enemy mobs | Garou packs, Zogre scouts | 30+ |
| Mini-boss | Storm Herald (respawn 45 min) | 35+ |
Stormbloom is the gating ingredient for the Storm Resistance potion, which becomes mandatory before you push deeper into the Stormtouched Highlands during the Kuldra's Saga questline. Most players farm 12–15 stems per trip, which is enough for two full cauldron batches.
Fractured Plains Crossing
The western exit of South Bramblemead opens onto the cracked red earth of the Fractured Plains, a biome that players usually enter between level 20 and 30 to chase Clay, Red Sandstone, and the early chapters of the Fellhollow vault chain. The crossing is shorter than the Highlands route, but the terrain is more punishing because of sinkholes and aggressive Fuzan patrols that bleed off the Umbral Sands side of the map.
Crossing Points and Sinkhole Density
| Crossing | Sinkhole Risk | Elevation Drop | Road Surface |
|---|---|---|---|
| Saltbarrow South | Low | 20 m | Stone causeway |
| Watchman's Causeway | Medium | 45 m | Cracked earth |
| The Dry Gulch | High | 60 m | Loose shale |
| Pilgrim's Pass | Low | 15 m | Packed dirt |
Watchman's Causeway is the most popular crossing because the Watchman's Cairn landmark on the Bramblemead side doubles as a respawn beacon — if you wipe, you reappear close enough to recover your pack. The Dry Gulch should be avoided until you have at least Steel-tier boots with fall-reduction, because a single missed jump can cost 40% of your health bar on a 60-meter drop.
Vault Progression Hook
The Fractured Plains side eventually links into Fellhollow and the Imaru vault, which is a major mid-game goal. Players who want a smooth progression curve typically cross over, activate the Fellhollow Lodestone, and then loop back through South Bramblemead for the daily Stormbloom run. This back-and-forth pattern is the cleanest way to keep both herb and ore stocks topped up without farming the same node twice in a row. If you want a fuller step-by-step on staging these vault runs, the RuneScape: Dragonwilds 100 percent completion list breaks the order down by act.
Emberwood and Volcanic Approach
Emberwood is the volcanic forest biome that borders South Bramblemead to the southeast, and it is the first place where environmental damage becomes a real factor. Ambient heat ticks 1–2 HP per second without fire resist gear, and Emberwood's signature Redcap Mushrooms are the catalyst ingredient for the Flameward Draught, which most players brew before their first Emberwood vault pull.
Emberwood Border Routes
| Route | Heat Level | Travel Time | Key Landmark |
|---|---|---|---|
| Saltbarrow Bridge | Low (river-cooled) | 5 min | Saltbarrow Bridge |
| Ashvein Cut | Medium | 7 min | Ashvein Mine |
| Charred Stair | High | 9 min | Charred Stair overlook |
| Cinder Ford | Medium | 8 min | Cinder Ford crossing |
Saltbarrow Bridge is the gentlest entry because the river that runs through South Bramblemead continues past the bridge and into Emberwood, which keeps the air temperature manageable for the first 200 meters. Beyond Ashvein Cut, the heat ramps sharply and most players switch to flame-resist gear or pop a Flameward Draught at the bridgehead.
Resource Priorities in Emberwood
| Resource | Use | Recommended Quantity Per Run |
|---|---|---|
| Redcap Mushroom | Flameward Draught | 8–10 |
| Cindershards | Fire Rune crafting | 15–20 |
| Emberwood Bark | Tier-3 bow frames | 6–8 |
| Volcanic Glass | Vault window crafting | 4–6 |
The vault chain tied to Emberwood is Velgar's Ashenfall vault, and according to community data pulled from multiple Jagex forum posts, the average Velgar kill happens around level 38. That is late enough that most of the prep work is done from a forward base inside Emberwood rather than from South Bramblemead, but the supply lines still run through Saltbarrow Bridge.
Lake of Lost Souls and Hope's Fall
The southern edge of South Bramblemead drains into the Lake of Lost Souls, a wide, shallow body of water surrounded by marshland and dead trees. Beyond the lake, the cliffs drop into Hope's Fall, the waterfall landmark that marks the southern boundary of the explorable map in version 1.0. This area is heavily atmospheric — fog banks reduce visibility to 15 meters during rain, and it is the only region where Whispering Wraith enemies spawn at all hours.
Lake of Lost Souls Landmarks
| Landmark | Position | Note |
|---|---|---|
| Drowned Shrine | Mid-lake island | Lore vault, wraith spawn point |
| Reedy Cove | North shore | Safe campfire |
| Sorrow's Edge | South shore | View of Hope's Fall |
| Sunken Lookout | West shore | Hidden fishing spot |
| Pilgrim's Rest | Far north approach | Campfire, last safe zone before the lake |
Pilgrim's Rest is the staging point for any Hope's Fall run, because it sits on high enough ground to avoid the wraith spawn radius and still gives a clear sightline down to the waterfall. The Drowned Shrine is the most dangerous landmark on the entire South Bramblemead side of the map — community reports put wraith respawn at roughly 90 seconds, which means solo players need to plan escape routes before they commit to a fight.
Hope's Fall and Endgame Hooks
| Feature | Description | Access Requirement |
|---|---|---|
| Hope's Fall Waterfall | Southern map edge | None (visual landmark) |
| Echo Chamber Cave | Behind the waterfall | Level 40+ |
| Kuldra's Sigil Fragment | Inside Echo Chamber | Kuldra's Saga Chapter 7 |
| Southwatch Beacon | Cliff edge | Activated via main quest |
Hope's Fall is the closest non-vault location to one of the Kuldra's Sigil Fragments needed for the final encounter with the God-Eater. The Echo Chamber is gated to level 40+ and ties directly into the endgame questline, so most players hit it after the Velgar and Imaru vaults are cleared. Reaching the Southwatch Beacon is purely a progression flag — it lights up a small section of the southern skybox and unlocks a fast-travel option to the Stormtouched Highlands via the Skyline Ridge trail.
Lodestone Network and Fast-Travel Map
The Lodestone system in RuneScape: Dragonwilds is the single most important quality-of-life feature for cross-region travel, and South Bramblemead is the natural hub for the first four of them. Activating a Lodestone costs 50 Anima and 10 of the matching regional stone, but each one reduces the effective travel time across the southern half of Ashenfall by an estimated 60–70%.
Regional Lodestone Checklist
| Lodestone | Region | Anima Cost | Stone Cost | Unlocks |
|---|---|---|---|---|
| Bramblemead Heartstone | South Bramblemead | 50 | — | First fast-travel |
| Stormbreak Pinnacle | Stormtouched Highlands | 50 | 10 Stormstone | North route shortcut |
| Fellhollow Beacon | Fractured Plains | 50 | 10 Clay Shard | West vault chain |
| Emberwood Anvil | Emberwood | 50 | 10 Cindershard | Southeast vault chain |
| Sorrow's Edge | Lake of Lost Souls | 50 | 10 Marshite | South endgame access |
Once all five southern Lodestones are active, a player can rotate between the vault entry points, the herb farms, and the ore nodes in under two minutes of real time. That is the network state most community speedrunners target before they push into Fellhollow or Dowdun Reach for their first vault attempt.
Fast-Travel vs. On-Foot Tradeoffs
| Mode | Best For | Downside |
|---|---|---|
| Lodestone | Long hauls, quick banking | No resource collection en route |
| On-foot | Resource farming, scouting | Slow, exposure to mobs |
| River raft (craftable) | Heavy load transfers | Requires 20 wood + 10 rope |
The river raft is the unsung hero of mid-game inventory management. A single raft can carry 200 weight units down the Bramblemead river system, from the Thornwall Notch rapids all the way to the Lake of Lost Souls dock, and it travels roughly twice as fast as sprinting on foot. It costs 20 wood and 10 rope to craft, both of which are abundant in the South Bramblemead starter area.
Frequently Asked Questions
What level should I be before leaving South Bramblemead?
Most players push past level 18–20 before leaving for the Stormtouched Highlands or Fractured Plains, because the level-20 weapon tier and the Steel armor set both drop from mobs in those border regions. Staying until you hit Iron-tier gear is the safest move, and the early river routes give you enough combat reps to hit those levels without grinding.
Where is the easiest vault to attempt from South Bramblemead?
The Fellhollow vault on the Fractured Plains side is the easiest first vault because the Imaru encounter is tuned for level 28–32, and you can stage at the Watchman's Cairn landmark in South Bramblemead before crossing. It also feeds back into the same Lodestone network, so a failed run only costs you a short walk.
Can I reach Hope's Fall without fighting wraiths?
Yes, by sticking to the Pilgrim's Rest → Reedy Cove → Sorrow's Edge path, you can walk the entire lake perimeter without pulling a single Whispering Wraith aggro. Avoid the Drowned Shrine mid-lake island, which is the only landmark on the lake that forces a fight. The cliff overlook at Sorrow's Edge gives a clean view of the Hope's Fall waterfall without engaging any enemies.
How many Lodestones are in South Bramblemead?
There is only one — the Bramblemead Heartstone in the center of the valley. However, the four neighboring regions (Stormtouched Highlands, Fractured Plains, Emberwood, and the Lake of Lost Souls zone) each have one nearby, so within 30 minutes of travel you can access five total Lodestones starting from the Heartstone.
Is Emberwood safe to explore without fire resist gear?
The first 200 meters past Saltbarrow Bridge are safe because the river keeps the air temperature low, but anything beyond the Ashvein Cut begins ticking 1–2 HP per second. Brew a Flameward Draught at the bridgehead, or carry at least one stack of fire-resist food, before pushing deeper. Plan your retreat path along the riverbank so that a single tick of damage can be soaked by wading into the water.